How to measure for a frameless shower enclosure
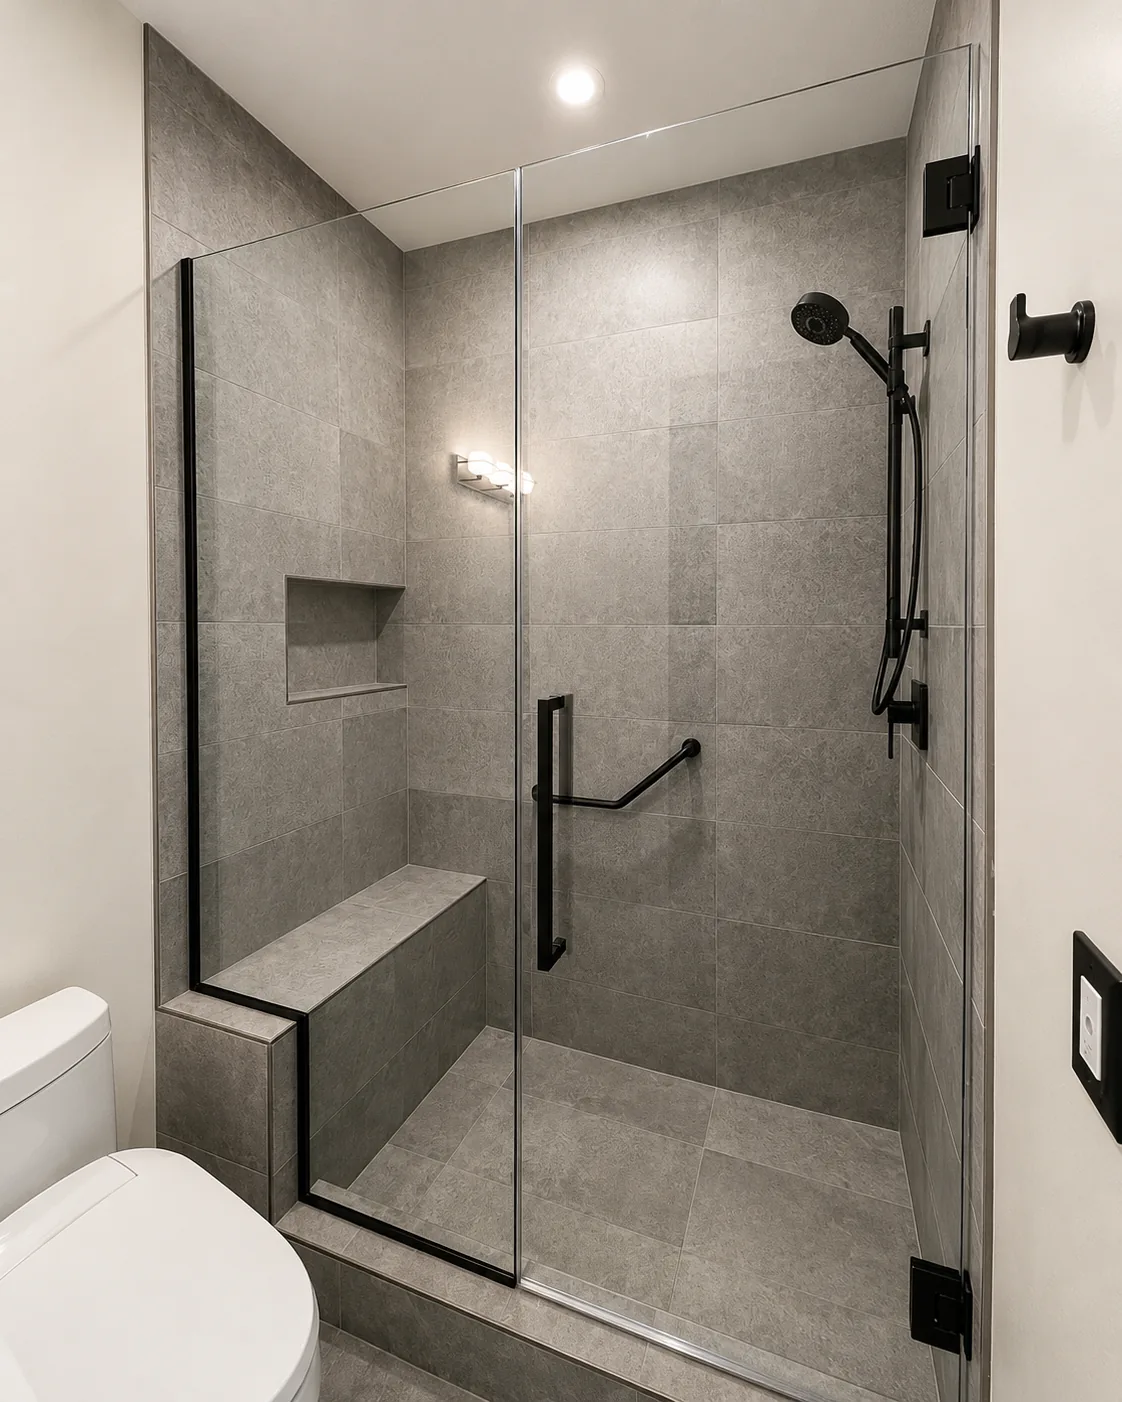
Measuring for a frameless shower enclosure is not difficult, but it is unforgiving. Frameless glass has no metal channel to hide behind, so every millimetre of variation in your walls, curb, or tile shows up as a gap or a joint that will not close. The good news is that a careful set of measurements tells you almost everything you need to know before a single panel is fabricated. Here is how the process works, what to look for in your own bathroom, and where a professional measurement makes the difference.
Measure after tile, not before
This is the single most important rule. Tempered glass cannot be cut, trimmed, or drilled once it has been through the tempering oven, so the panels are made to the finished opening. Tile thickness, thinset, and any wall float can easily shift an opening by half an inch or more compared to bare studs or backer board. Measuring against unfinished surfaces almost guarantees a panel that does not fit.
The same applies to the curb or threshold. If a curb is still going to be tiled, or if a shower base has not been set in its final position, wait. Measurements taken from a finished, cured, and level surface are the only ones worth cutting glass from.
What to record
For a typical enclosure, gather the following:
- Width of the opening at three heights: near the curb, at roughly mid-height, and near the top of where the glass will sit.
- Height from the finished curb or base to your intended top-of-glass height, measured at both the left and right sides.
- Curb width and slope. Note how much the curb pitches back toward the drain, and whether the top is flat, bullnosed, or rounded.
- Plumb readings on every wall the glass will touch, top to bottom.
- Level readings across the curb and along the base.
- Obstructions: shower valve and trim location, niches, bench, sloped ceiling, light fixtures, and anything in the door's swing path.
- Wall construction behind the tile, if known — studs, blocking, concrete, or backer only. This governs hardware anchoring.
Always record the smallest of your three width readings. Glass has to pass through the tightest point of the opening, not the average one.
Thickness, format, and how they change the numbers
Frameless enclosures are typically fabricated in 6 mm, 8 mm, or 10 mm tempered glass. Thicker glass is more rigid and generally preferred for hinged doors and larger fixed panels; 6 mm is more common in lighter applications. Thickness also affects hardware selection, hinge geometry, and the door swing clearance you need to leave, which is why it should be decided before the final measurement rather than after.
Format matters just as much:
- Hinged door. Needs swing clearance outside the shower and a proper strike point. Check that the door will not hit a vanity, toilet, or towel bar.
- Sliding or bypass. Useful where swing space is limited. Requires a straight, level header run and adequate wall support at both ends.
- Fixed panel. Often paired with a door or used alone as a walk-in screen. Support method — clamps, channel, or brace bar — depends on panel size and wall backing.
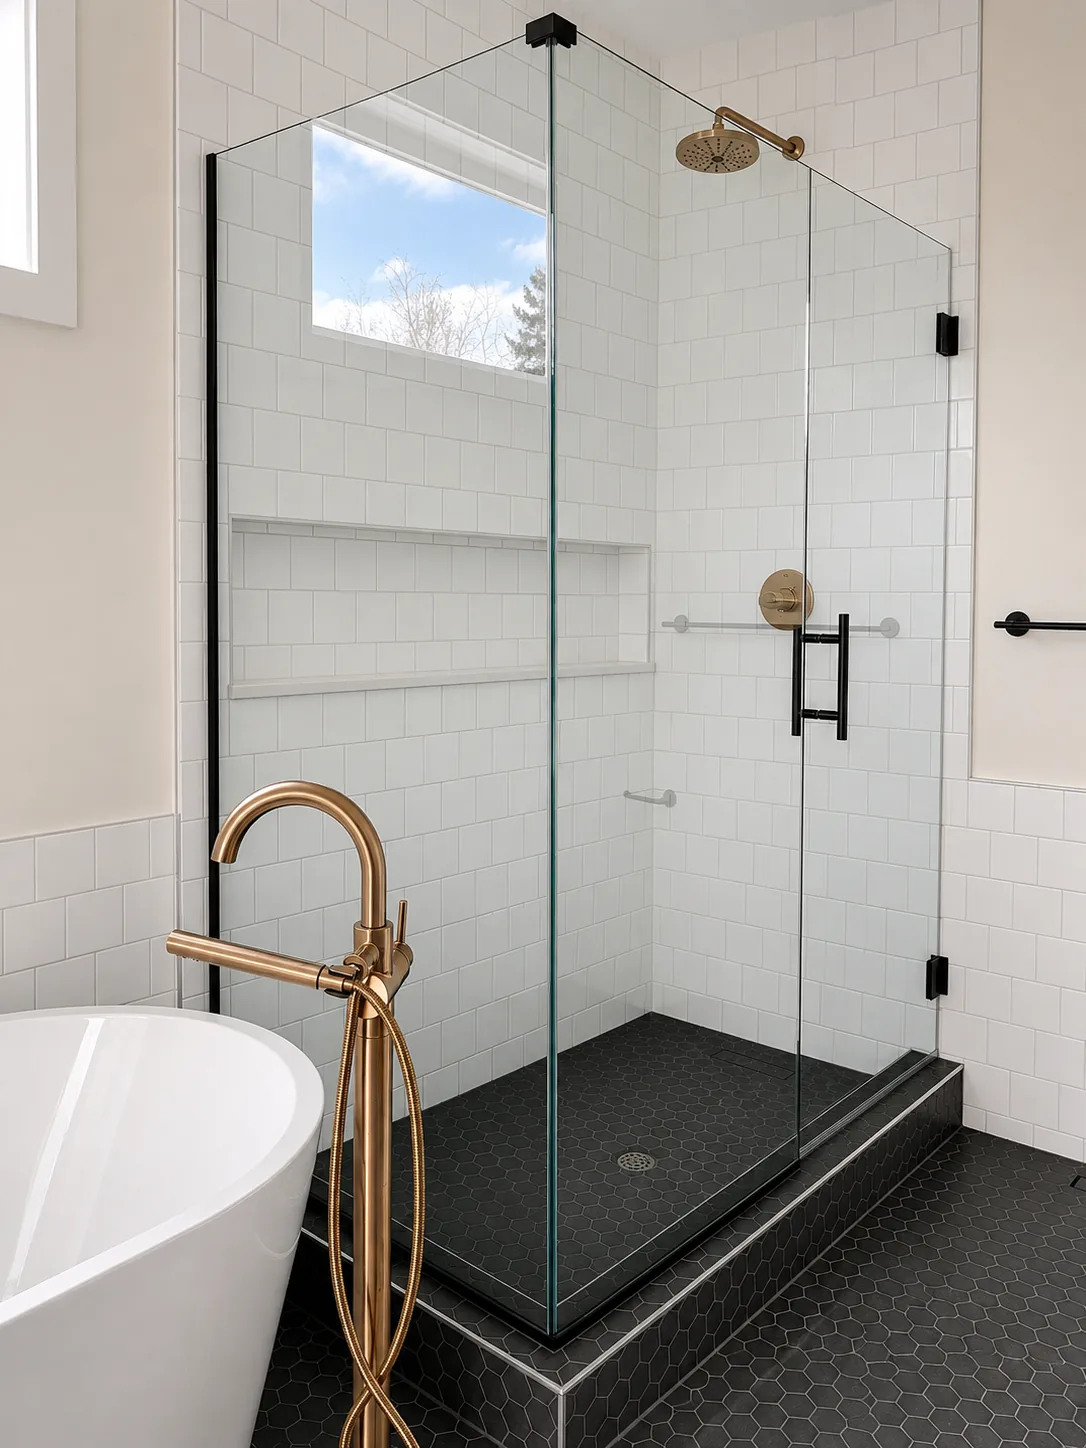
- Neo-angle corner. The most measurement-sensitive layout, since the corner angle is rarely exactly what the drawing says. Angles must be measured, not assumed.
Common measuring mistakes
- Taking one width reading and assuming the opening is square.
- Measuring to the tile edge rather than the point where glass will actually seat.
- Forgetting that a hinged door needs a gap at the bottom for airflow and to clear the curb.
- Ignoring the curb slope, which tilts a panel inward if not accounted for.
- Not identifying where silicone joints will run, and how much movement they can absorb.
- Choosing glass type late. Clear, Starphire (low-iron), and Frosted all behave differently visually — Starphire removes the green edge tint that is most noticeable on thicker glass and on large panels.
Treat your own numbers as a planning tool
Measuring yourself is genuinely worthwhile. It tells you whether a hinged door will clear your vanity, whether a neo-angle is realistic in the space, and roughly what size of shower glass you are dealing with. It gives you a real basis for a conversation about layout and thickness. What it should not do is become the cut list. Fabrication tolerances on frameless work are tight, and the responsibility for a panel fitting the opening belongs with whoever measures it.
When your tile is finished and cured, Glass Culture can come out to your site in the Edmonton area, take the final measurements, check plumb and level, confirm hardware and wall backing, and build the enclosure to those numbers, including delivery and installation. Measurement and quotation are both free, so the sensible order is simple: plan with your own numbers, then request a free quote and let the final dimensions come from the site.